Taking the perfect photos or video under HPS lights in a cannabis grow room can be challenging if you don’t have the right tools. High pressure sodium lights emit an orange tinted glow that is great for growing plants, but really sucks when you are trying to take those amazing grow room photos.
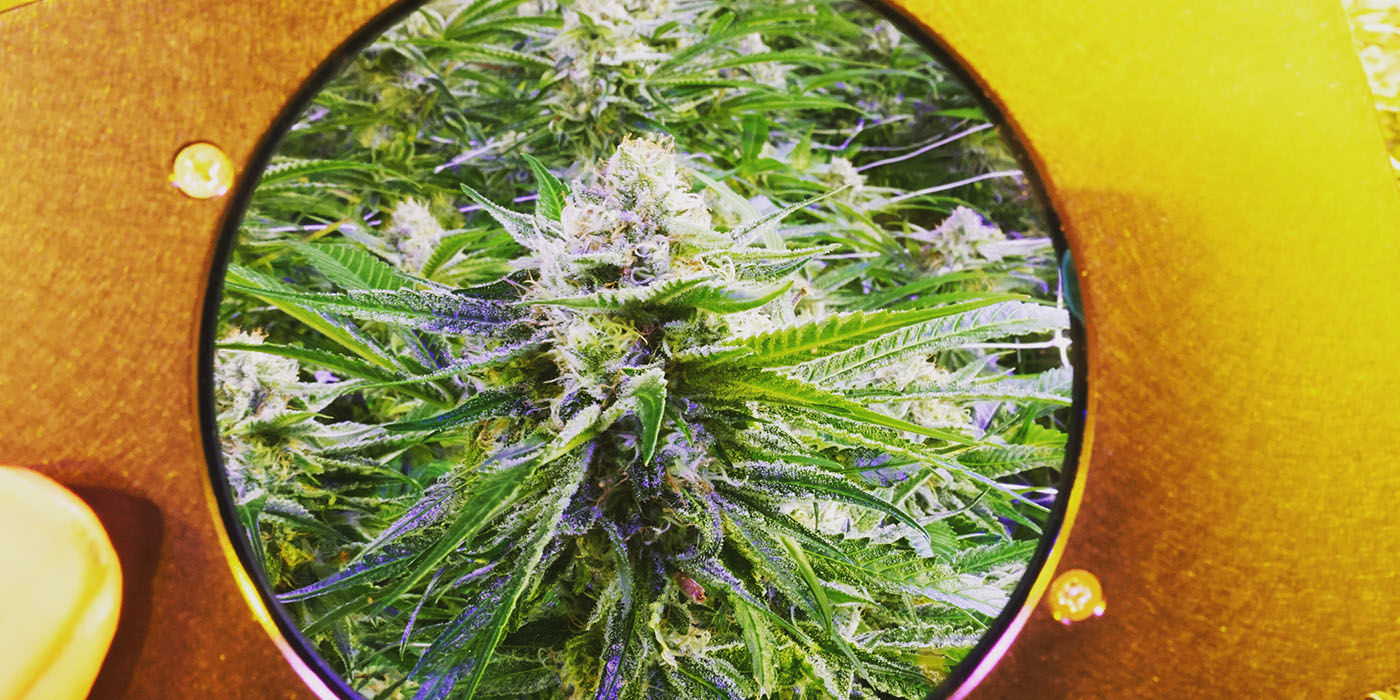
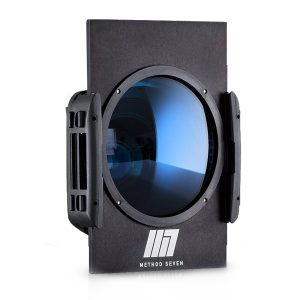
I have come a long way since I started the series “Growing Exposed” as I was accustomed to shooting “whatever it was” and then trying my best to colour correct later. Of course dialing in the white balance prior to taking the photo helps, but the only thing I found makes a big difference, is when I started using the Method Seven photo filter.
The Technology
The Method Seven photo filter has the same technology used in the M7 sunglasses. If you haven’t heard of Method Seven they are the creators of premium grow room glasses. I did a segment with the owner James Cox in episode 4 and I learned a lot about the technology behind the Santa Cruz company that leads the industry.
James explained to me that it was the rare earth elements in the glass, that results in balanced colour. You really do get a superior clarity photo than if you just tried to white balance or attempt to fix later in photoshop. Once you use a M7 photo filter under HPS lights you will never try and do it without this filter again. Believe me it is worth it.
What And Where To Buy
When you are ready to buy one you can go to https://mygreenplanet.com/product/ms-hps-photo-filter/ They have it listed for 187.99 Canadian. Make sure you are buying the HPS one. It will have a blue tint.
In addition to the M7 Photo Filter you will also need to go out and get a cheap Cokin “P” series that fits square filters. Don’t forget to buy the adapter for your lens thread. I just bought a kit on Amazon for around $20 bucks with a ton of different sizes.
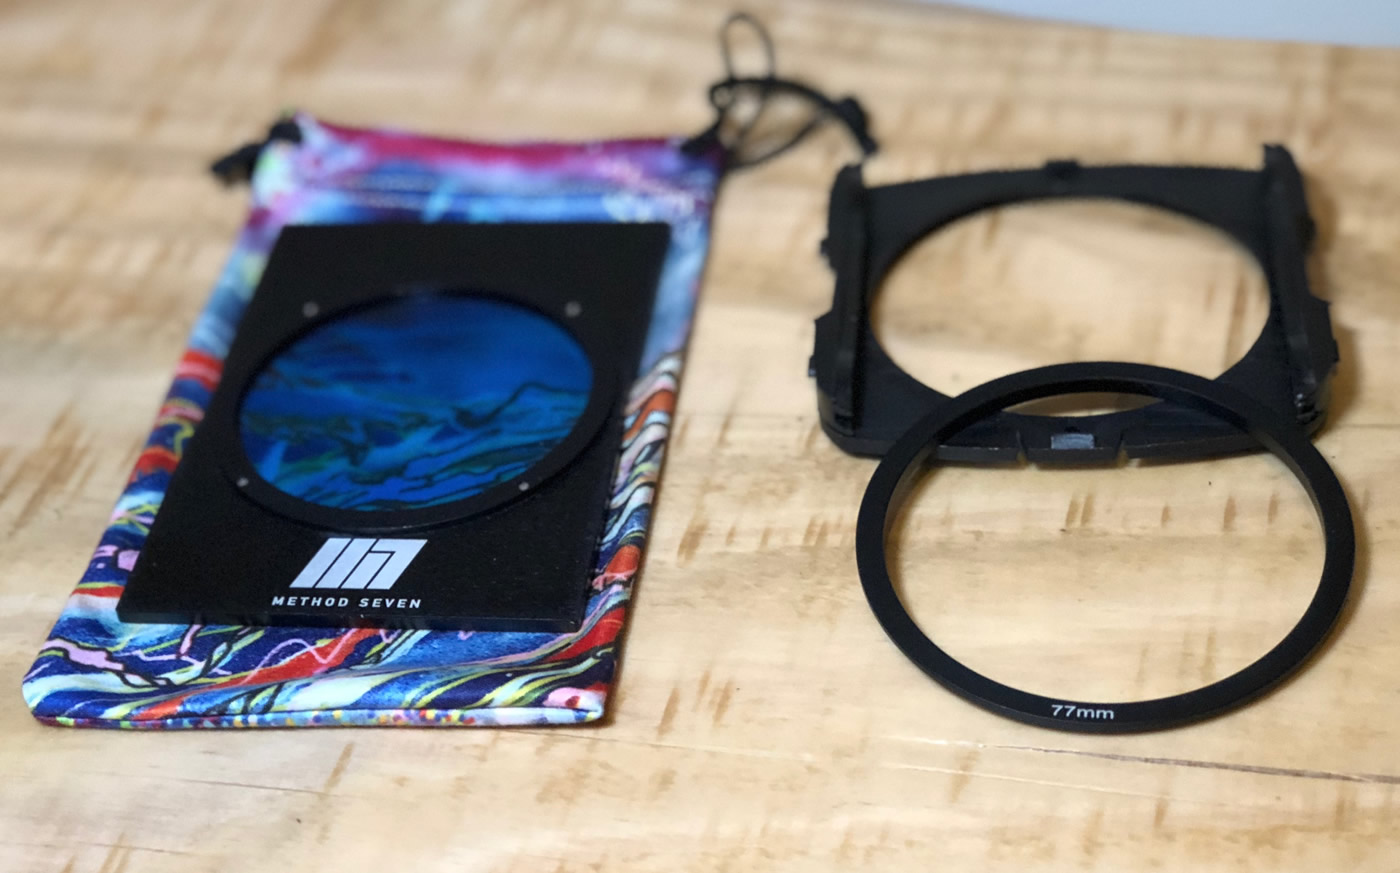
Lens Choices
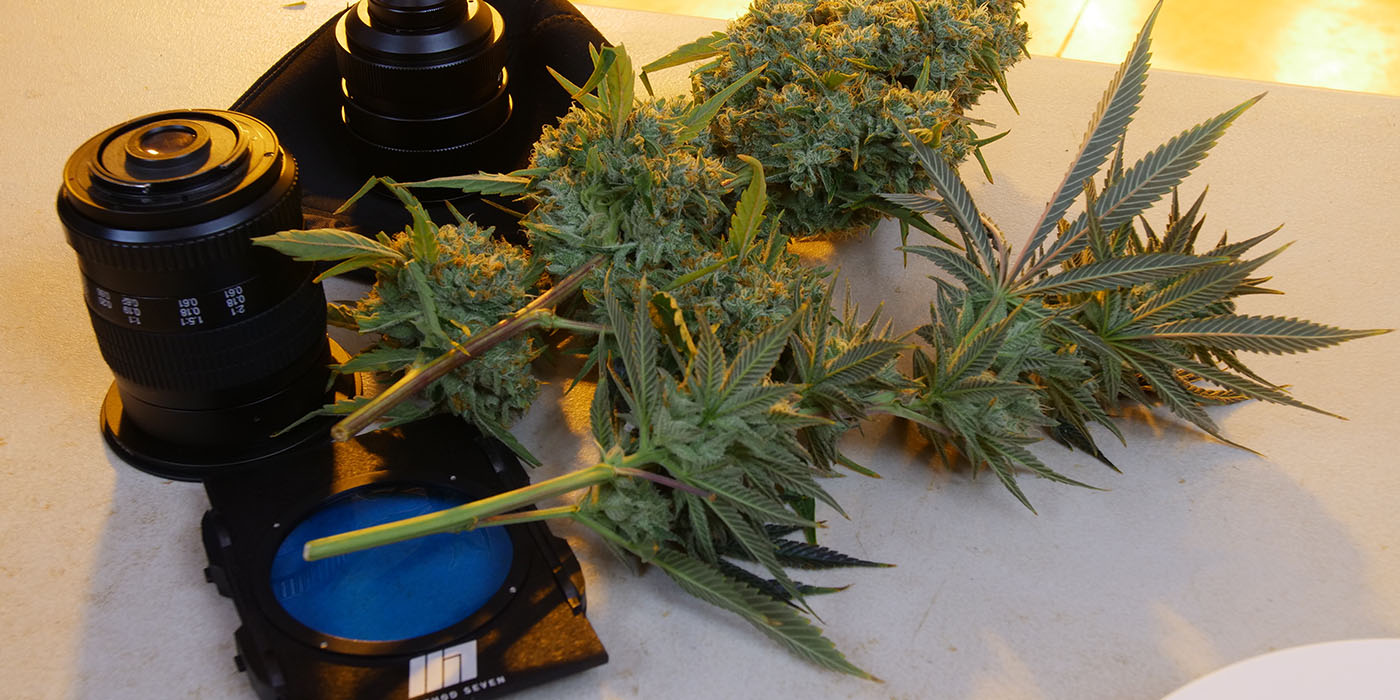
I use a variety of lenses and those have filter threads that vary in size from 62mm-77mm. So to make my shoot easier I like to use a step-up adapter so that all my lenses are set at 77mm for my Cokin Filter. That way I am not always screwing and unscrewing or looking for adapters. This works really nice to when I need to use my variable ND also since everything is at 77mm.
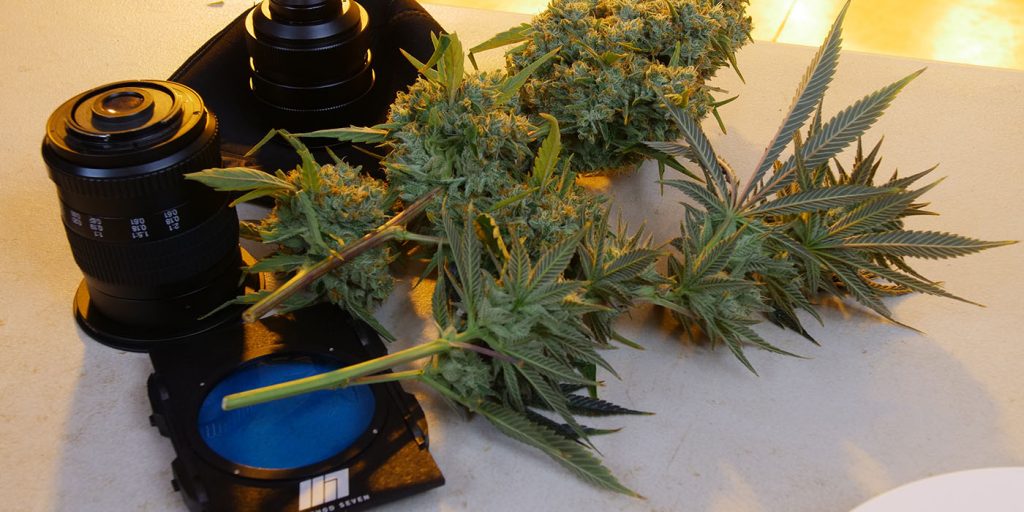
Here is a picture with a few of my favourite lenses.
I have a Nikon 17-35mm that I almost never use, My 85mm Rokinon which I love but rarely use because I typically have this 60mm cheap Chinese lens on my camera. It is a 2:1 macro and does incredible shallow depth of field. Often too much actually. Then for my wide shots I use my Veydra Mini Prime. I have a bunch of other lenses but they never make it out of the bag.
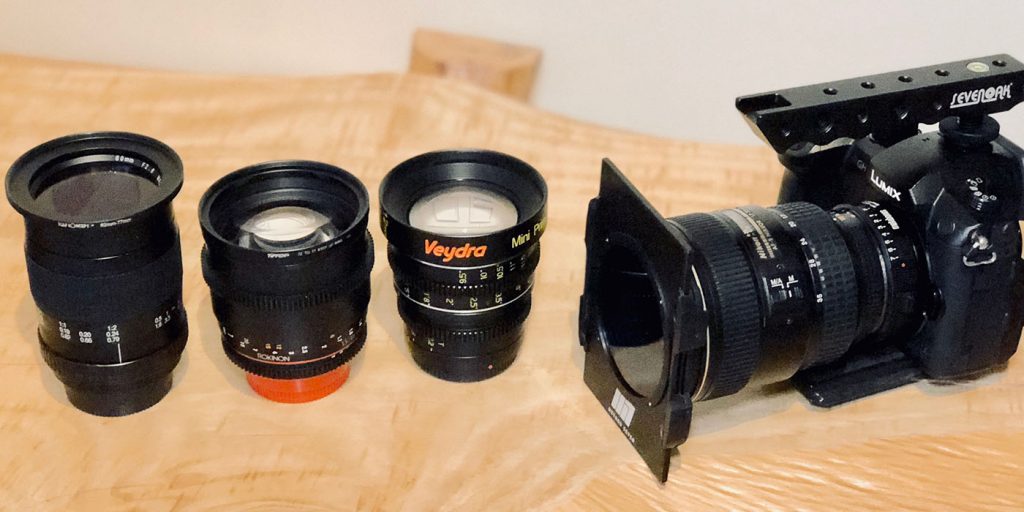
So once you have the filter over your lens installed you can go ahead and take a photo as you normally would under daylight. Of course, taking a photo when you are in a room packed full of mini suns (the HPS lights) it is more challenging than a typical shot. So here is a few tips.
Tips Taking Photos Under HPS Lights
When you notice black lines or strobing, use and adjust your shutter speed until they are no longer present.
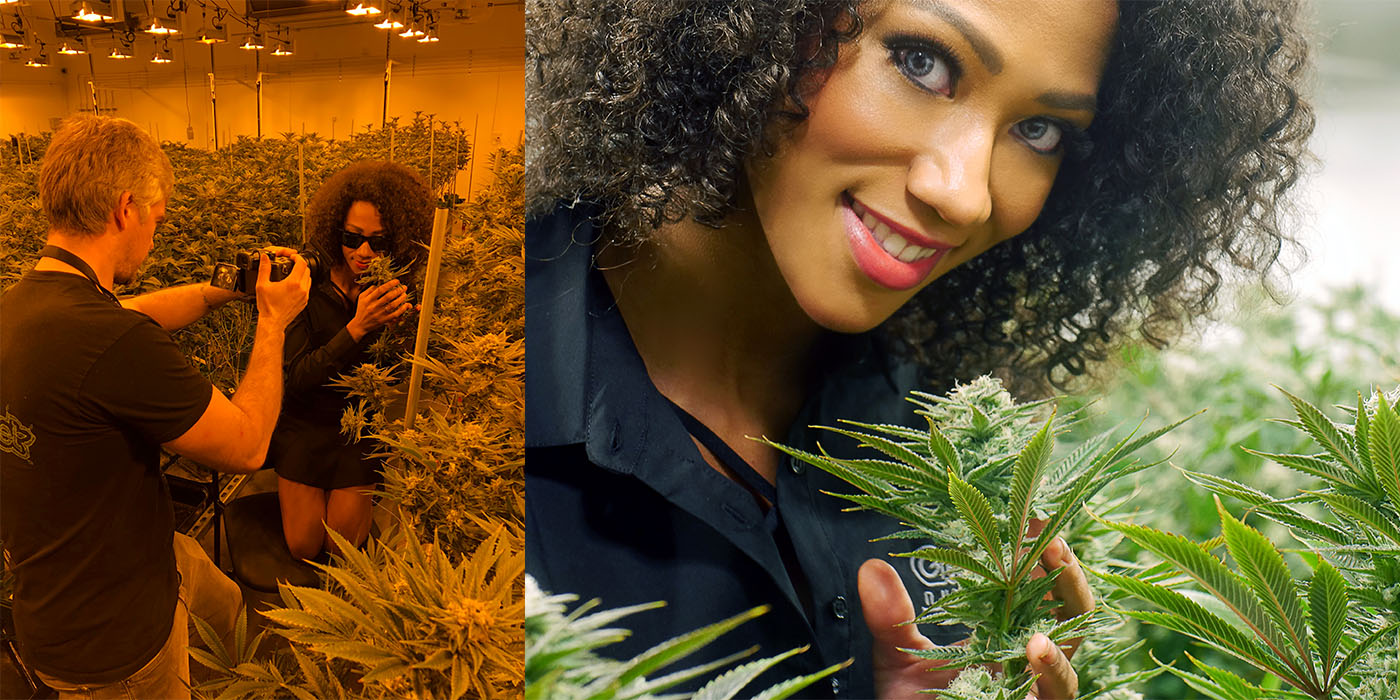
HPS lights are powerful and create dramatic shadows. If you are going to have a person in the shot then use a fill light. I have a 1×1 powered by V-mount battery so can get some light directly on the subject. If your goal is just to have a nice close up of the bud then I often put my 1×1 video light trying to get some fill in there. I don’t use a flash.
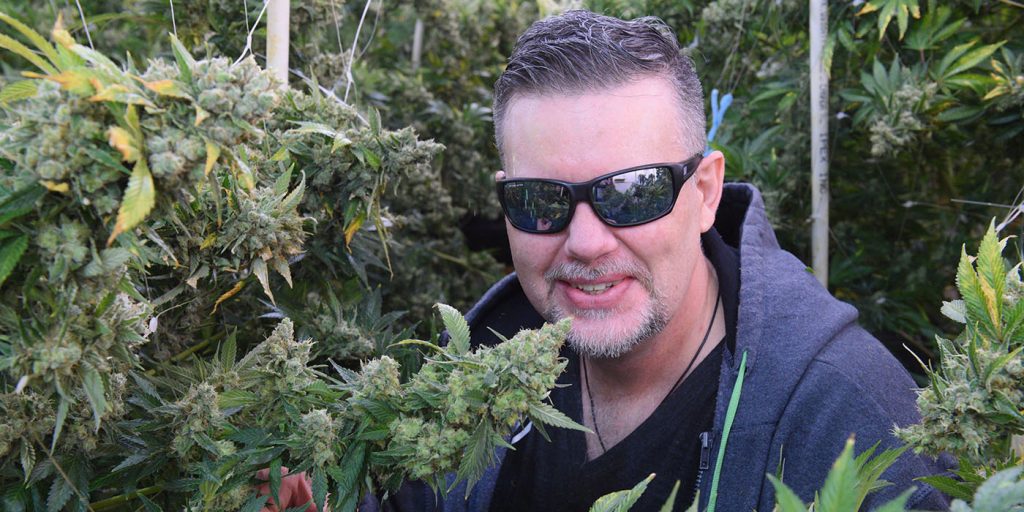
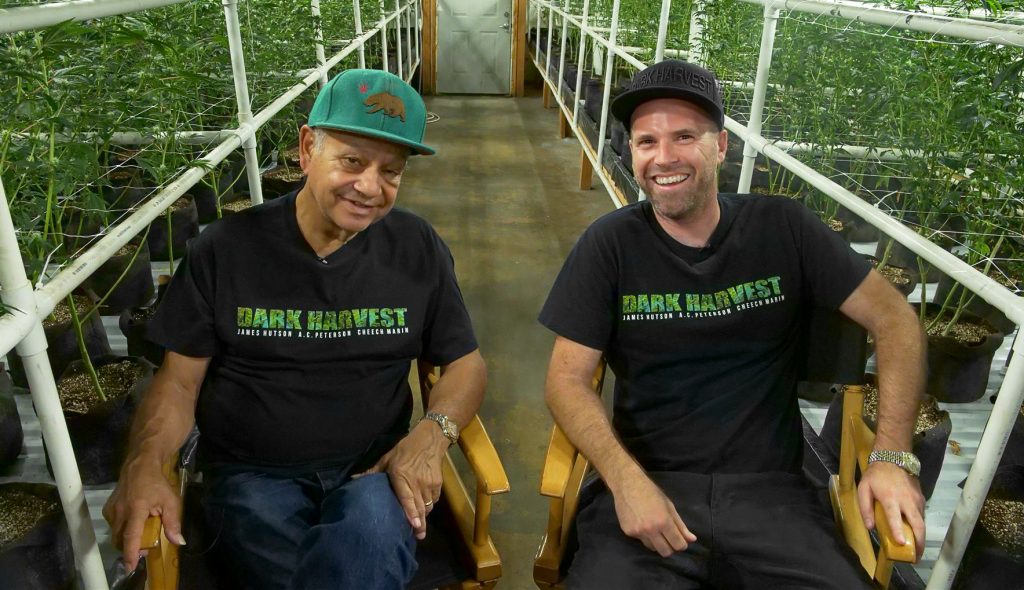
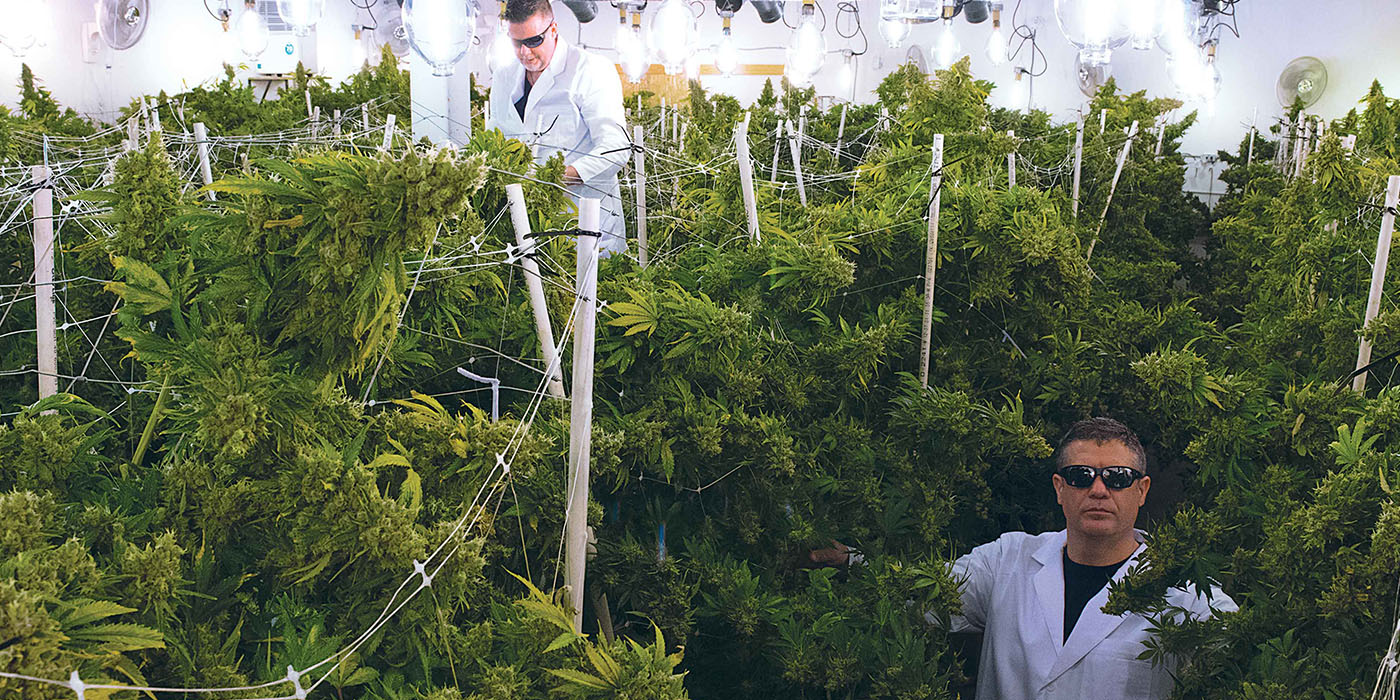
Use a ladder or chair to get above the canopy. Unless you are 7 ft tall most of the time I am getting this annoying lens flare when I am trying to take the wide shot. Grow rooms have often have 40 mini suns, like in this room, where I shot a photo of Cheech Marin and James Hutson during an interview for the film Dark Harvest. So when attempting a wide shot I get my self slightly elevated allowing me to tilt the camera down just enough to remove any distracting flare.
Smart Phone
If you want to take great photos with your smart phone, place the filter in front of the lens with your other hand. It works even with the sunglass lens since you don’t even need to cover a large area. I used ‘panoramic photo mode’ with my iPhone 8 which can take some great photos.

Here is what happens when I don’t use the filter with my iphone 8 to take photos of the room.

Other Tips
Here are some suggestions for timing your pics so you don’t have to deal with the yellow light of an HPS.
Just before the lights go on… This room was completely pitch black… do a long exposure so it stays open for 5 seconds then I take my 1×1 LED panel and pass it across the room from behind the camera or in this case I also had someone down the aisle. They turned the light on for a few seconds during the long exposure. This is an advanced technique but it works great.
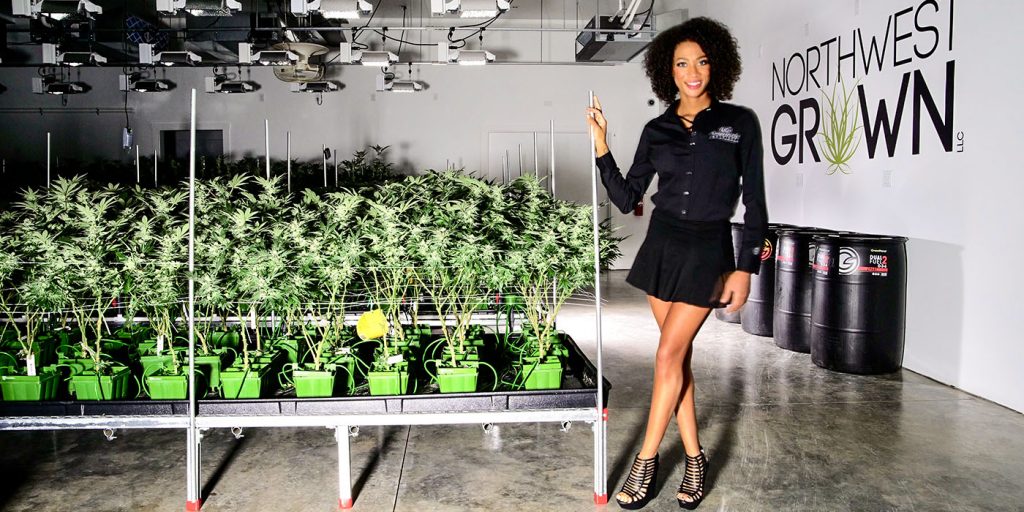
Right After HPS Turns On – Take pictures immediately – when cool HPS grow lights are first turned on, they won’t be a strong orange. If you take pictures during this window of opportunity, you can get a unique look. I did not use the HPS filter on this one as the lights had just started warming up and I was trying it out to see how it looked.
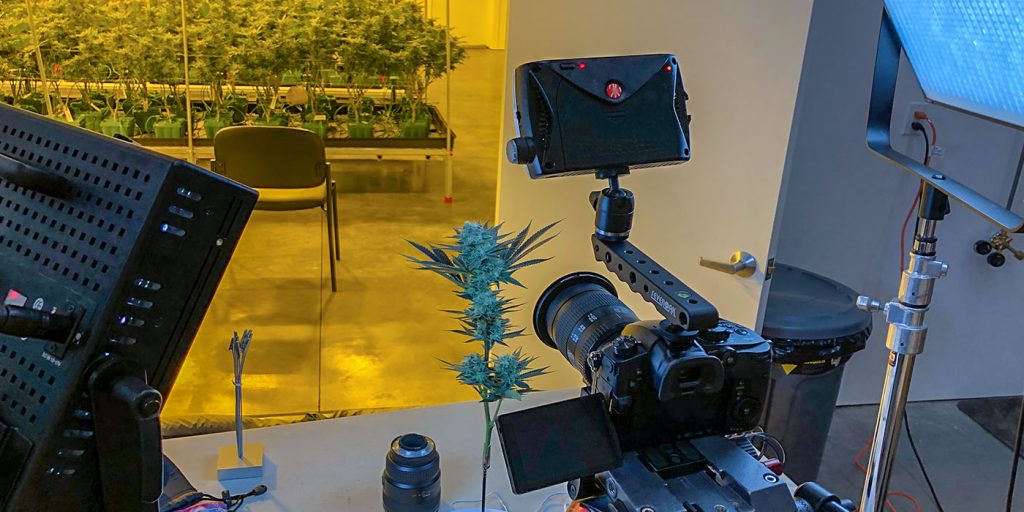
Try moving the plants outside the room. I have either moved plants or cut buds off and moved them outside the room into a more controlled environment. You won’t be fighting the orange HPS and you can get some amazing images. I use supplemental light to give it a look that you just can not achieve under HPS lights. This is my favourite hack.

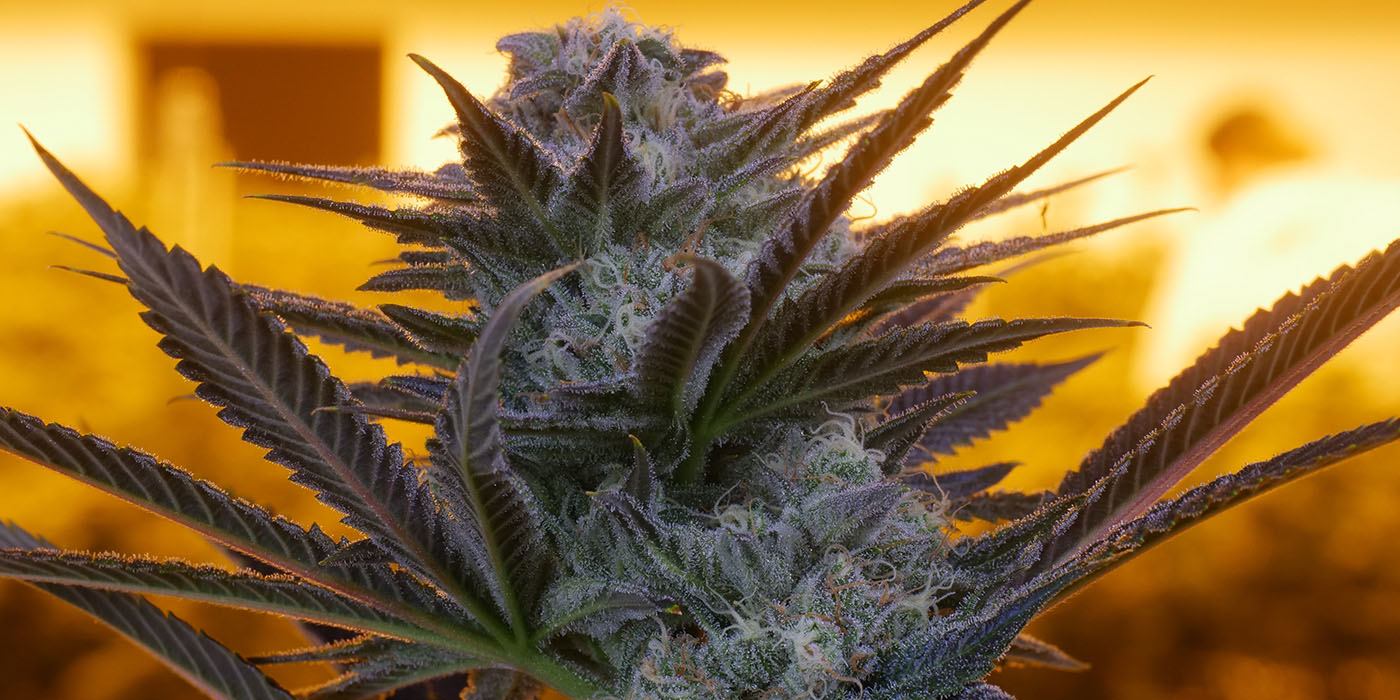
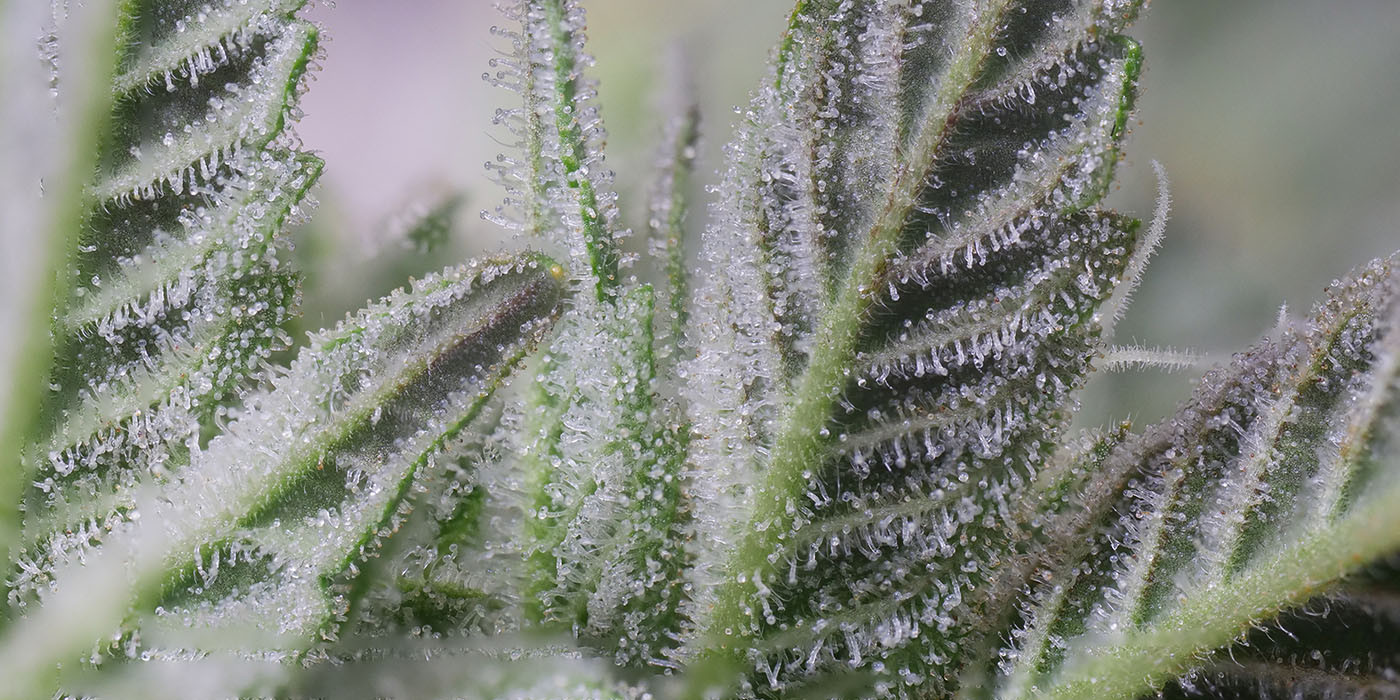
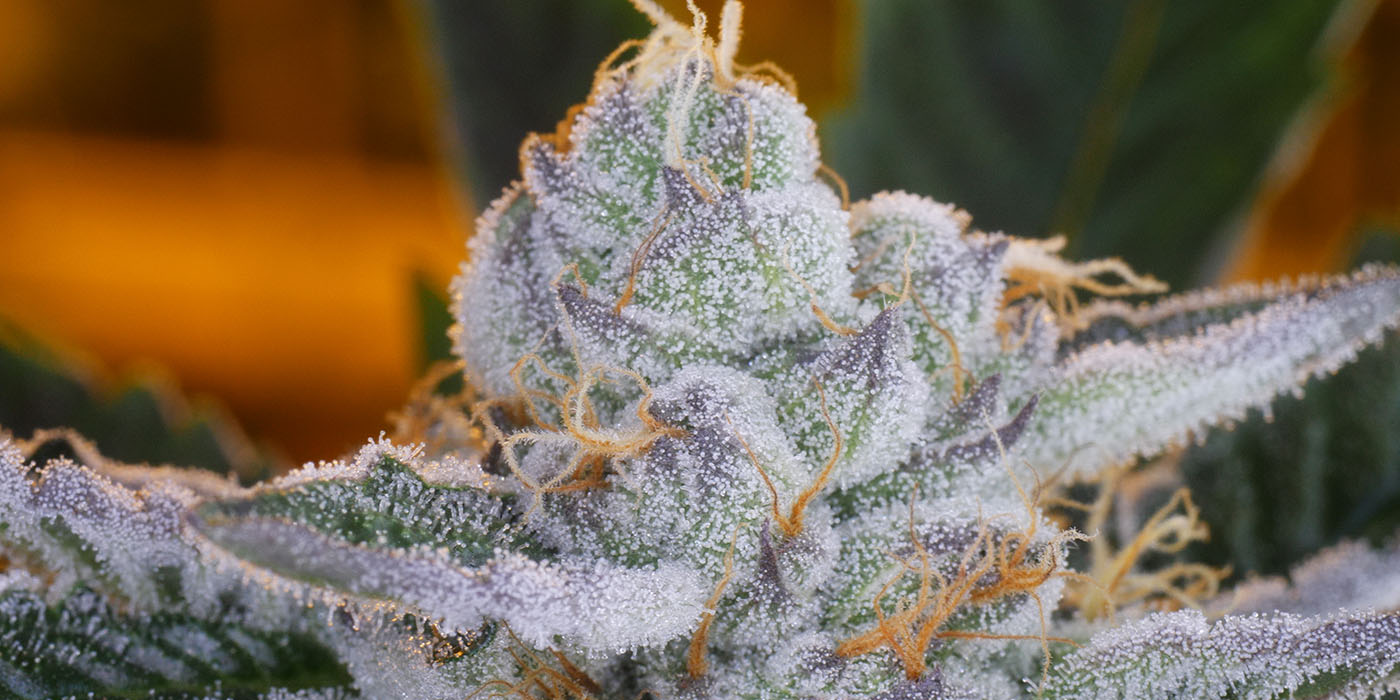
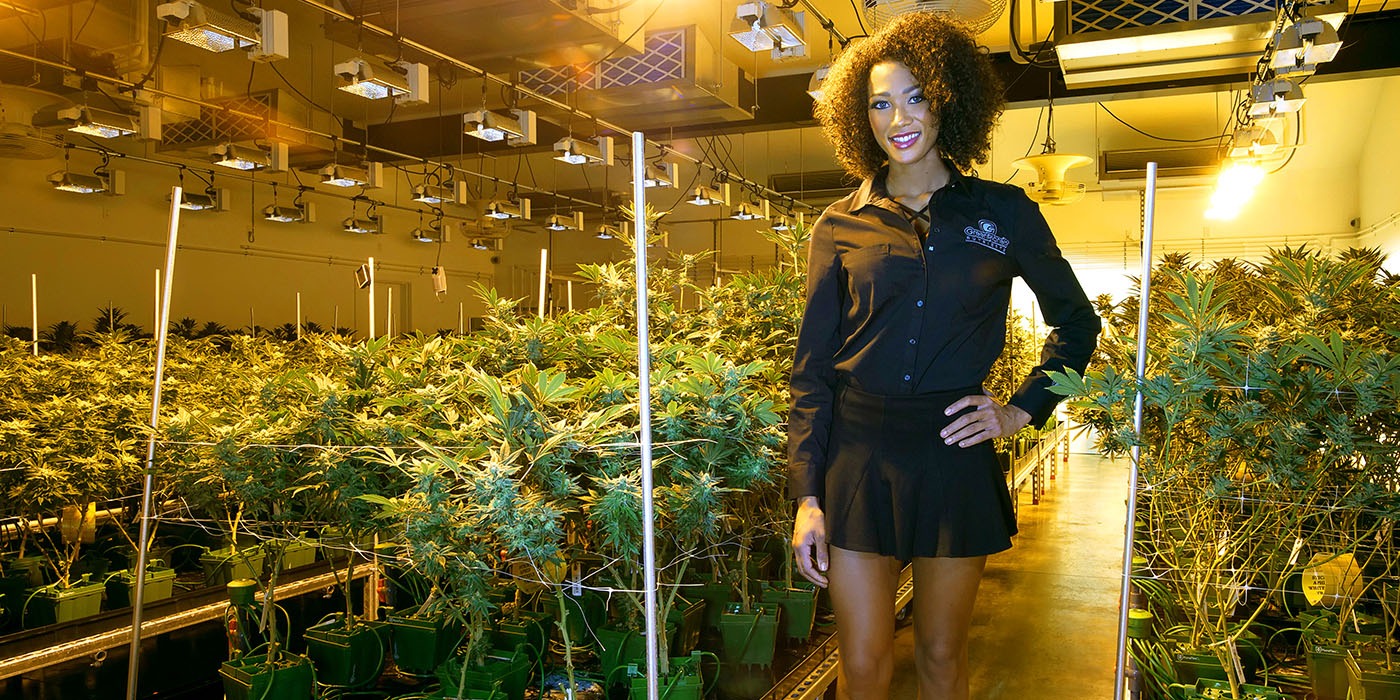
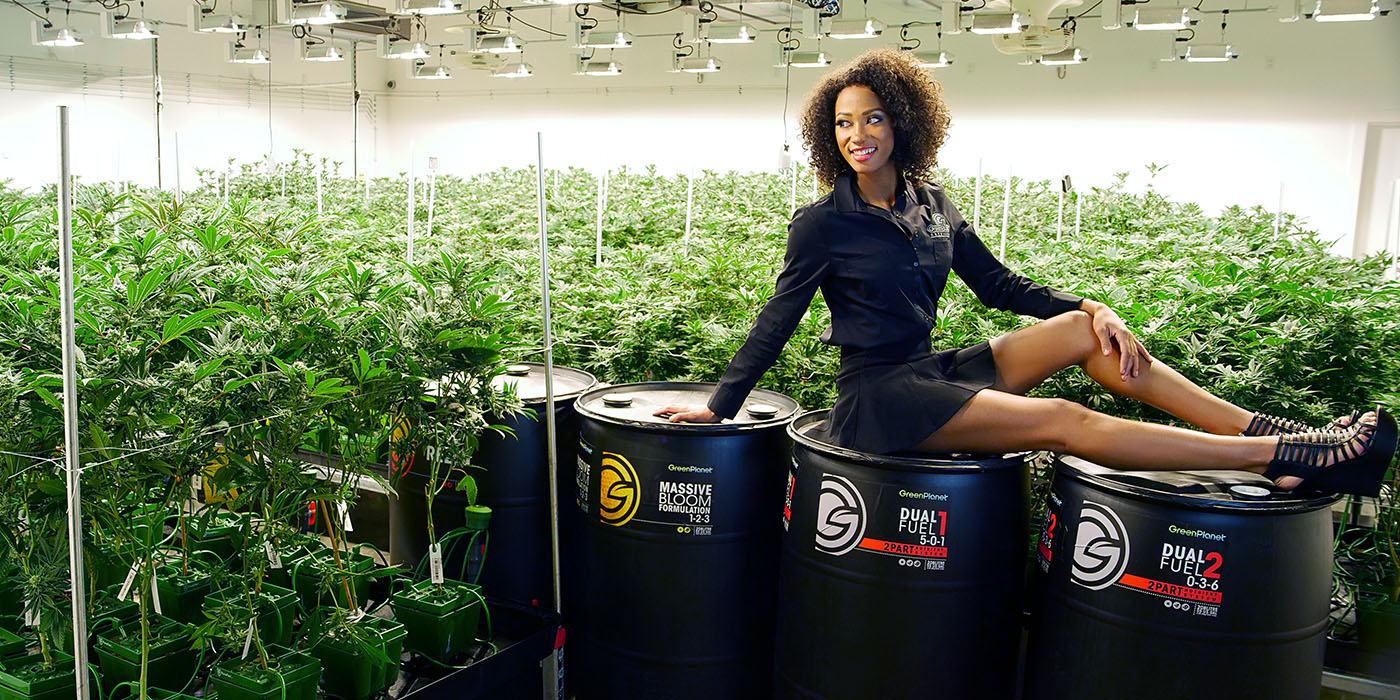
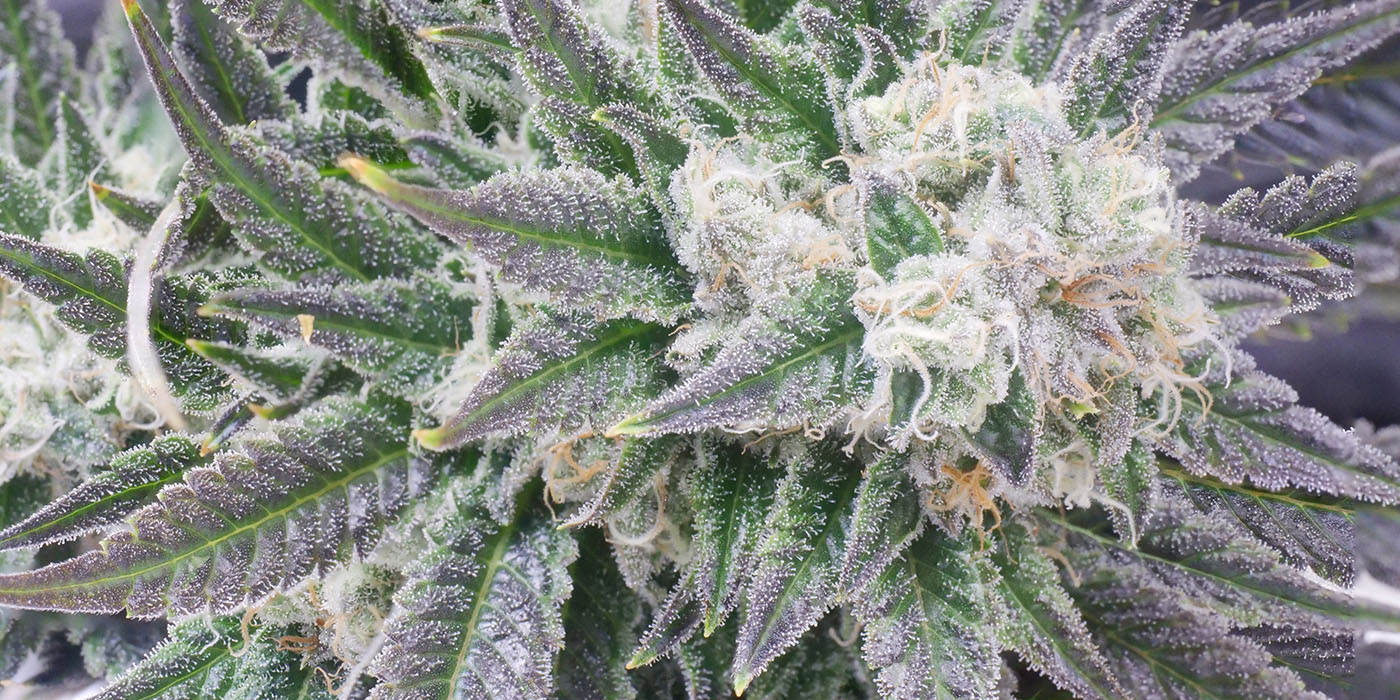
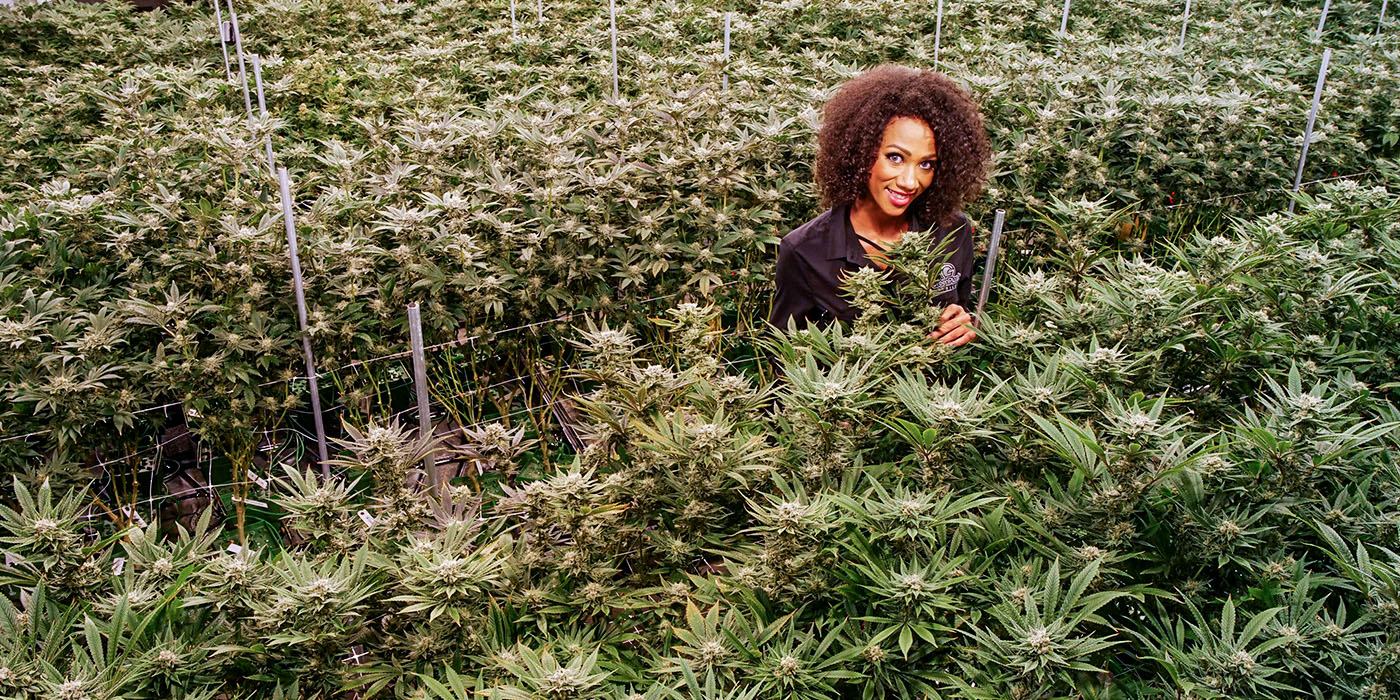
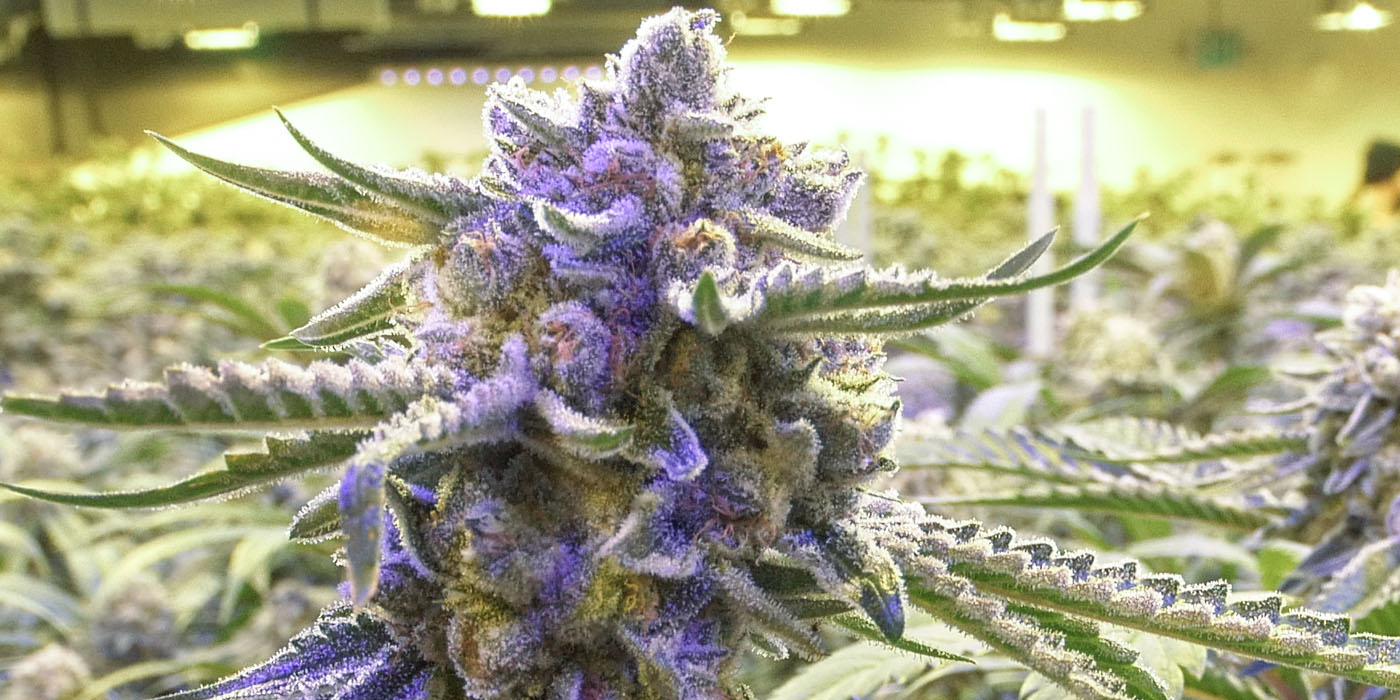
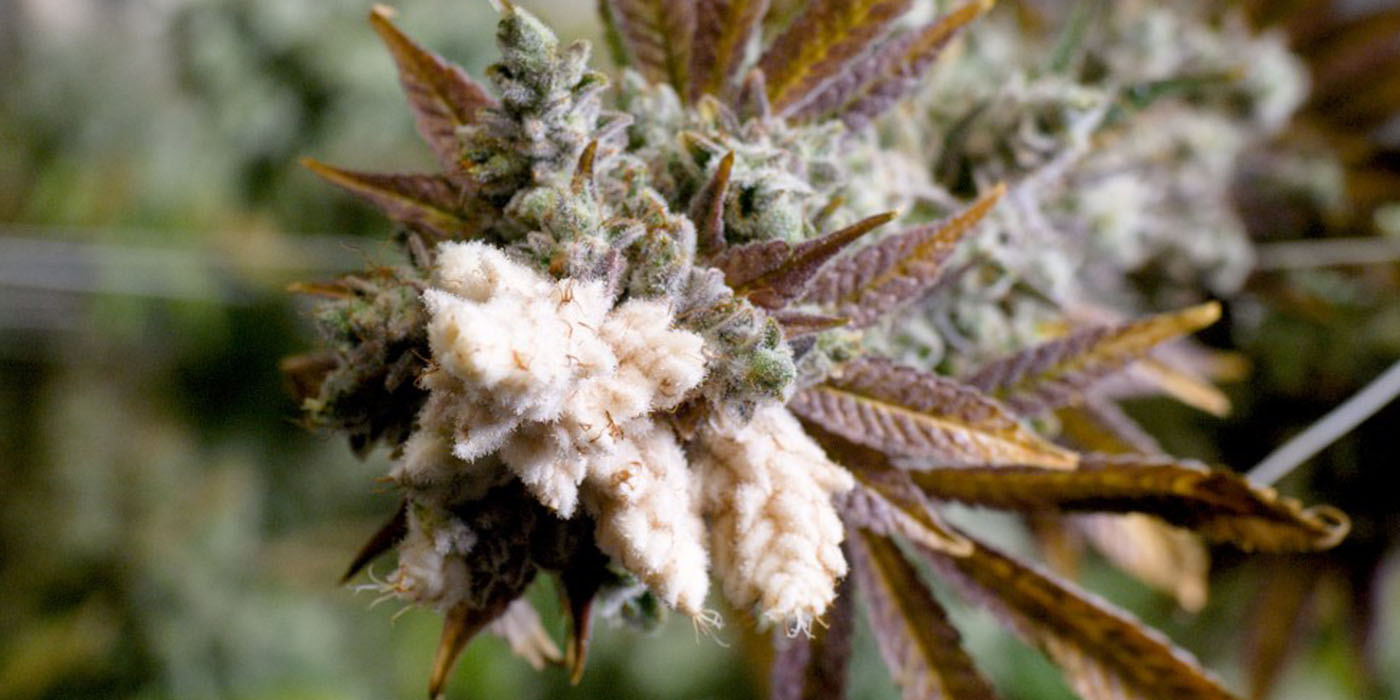
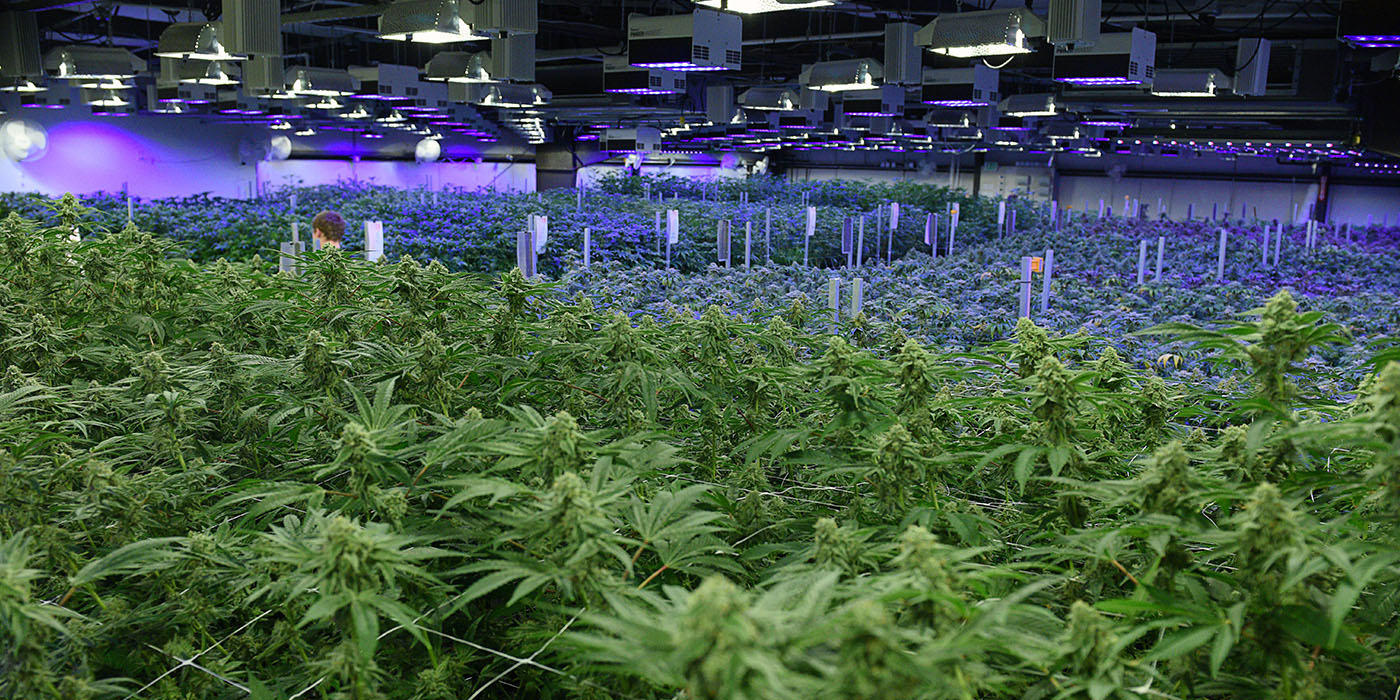
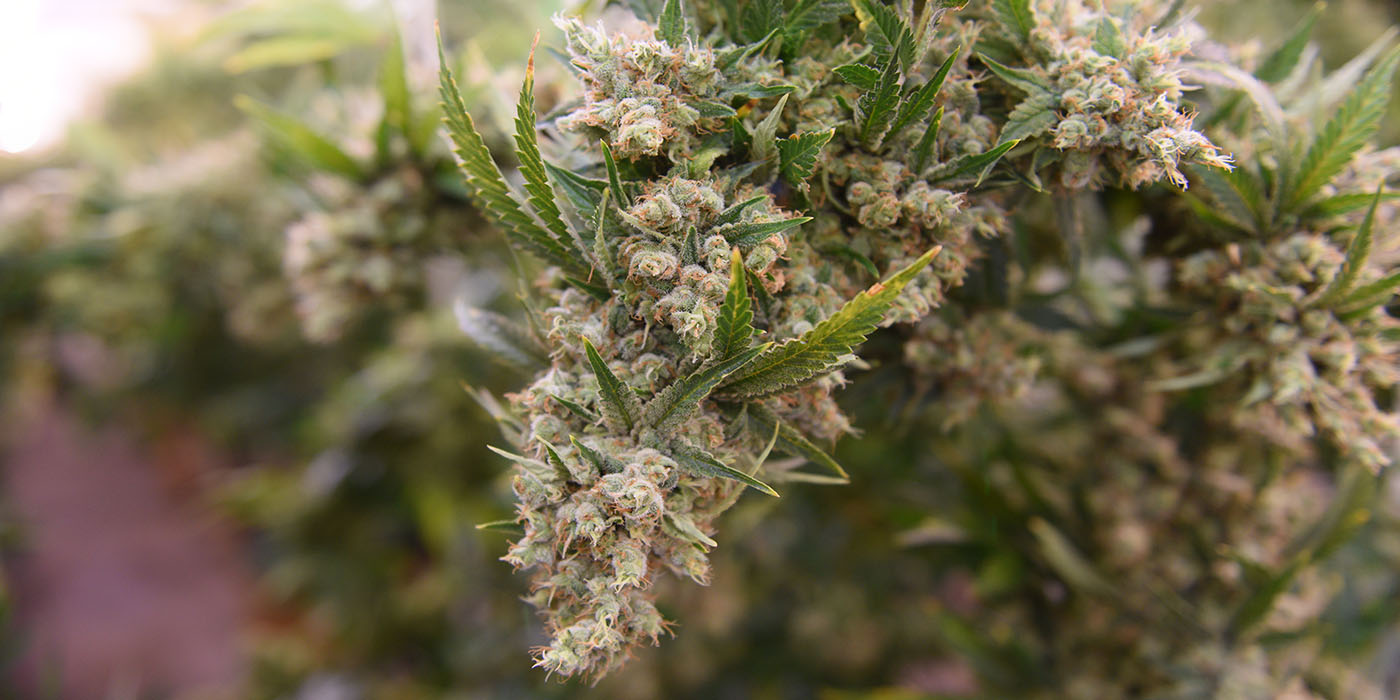
If you have any questions about taking photos in the grow room feel free to contact me. The following photos were are all taken in very orange rooms that had either Gavita’s or some other HPS light and I was using the Method Seven Filter to get the almost daylight looking shots.
Check out the entire series here.
If you have any questions about taking photos in the grow room feel free to contact me. The following photos are all taken with the Method Seven Filter.
